Symfony Advent Calendar 2019の14日目です。(間に合わすつもりでしたが、過ぎてしまいました…)
ほとんど、Herokuのドキュメント通りですが、 Apache設定に関して忘れがちなので同じ経験をしている方の助けになればと思います!
Githubにコミットしてるので、参考にどうぞ!
kin29/symfony4-heroku
使うもの
– Symfony4.4
– Heroku (Apacheを想定)
確認事項
Symfony4.4はPHP7.1.3以上が必要です。
$ php -v  //ローカルのPHPのバージョンを確認
PHP 7.1.30 (cli) (built: Jul 4 2019 21:55:42) ( NTS )
※ 今のHerokuのデフォルトPHPバージョンは7.3.12でした!
-----> PHP app detected
-----> Bootstrapping...
-----> Installing platform packages...
       - php (7.3.12)
       - apache (2.4.41)
       - nginx (1.16.1)
手順
1.composer経由でプロジェクトの作成
$ composer create-project symfony/website-skeleton symfony4-heroku/
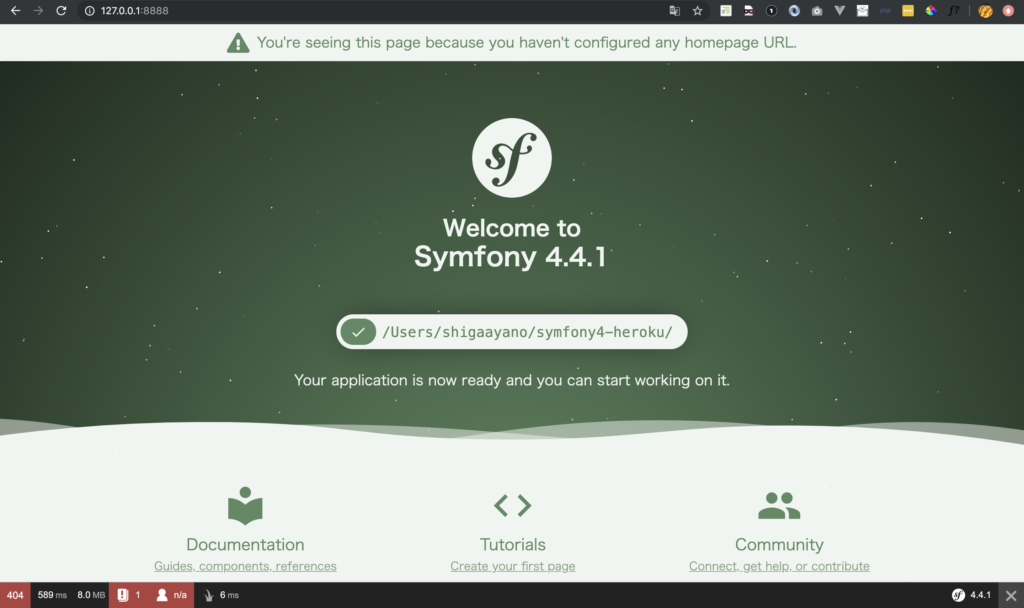
ビルドインサーバーを立ててローカルで確認してみる。
$ cd symfony4-heroku/
$ php -S 127.0.0.1:8888 -t public/
welcomeページ見れましたー!
2.Herokuにデプロイしてみる
Githubにpushして、masterをdeployしてみます。
なんかエラーになって、deployできない。
...
     Script cache:clear returned with error code 255
       !!  Symfony\Component\ErrorHandler\Error\ClassNotFoundError {#29
       !!    #message: """
       !!      Attempted to load class "WebProfilerBundle" from namespace "Symfony\Bundle\WebProfilerBundle".\n
       !!      Did you forget a "use" statement for another namespace?
       !!      """
       !!    #code: 0
       !!    #file: "./src/Kernel.php"
       !!    #line: 23
       !!    trace: {
       !!      ./src/Kernel.php:23 {
       !!        App\Kernel->registerBundles(): iterable
       !!        › if ($envs[$this->environment] ?? $envs['all'] ?? false) {
       !!        ›     yield new $class();
       !!        › }
       !!      }
       !!      ./vendor/symfony/http-kernel/Kernel.php:449 { …}
       !!      ./vendor/symfony/http-kernel/Kernel.php:133 { …}
       !!      ./vendor/symfony/framework-bundle/Console/Application.php:169 { …}
       !!      ./vendor/symfony/framework-bundle/Console/Application.php:75 { …}
       !!      ./vendor/symfony/console/Application.php:148 { …}
       !!      ./bin/console:42 { …}
       !!    }
       !!  }
       !!  2019-12-14T12:26:54+00:00 [critical] Uncaught Error: Class 'Symfony\Bundle\WebProfilerBundle\WebProfilerBundle' not found
       !!
       Script @auto-scripts was called via post-install-cmd
 !     WARNING: There was a class not found error in your code
 !     ERROR: Dependency installation failed!
 !
 !     The 'composer install' process failed with an error. The cause
 !     may be the download or installation of packages, or a pre- or
 !     post-install hook (e.g. a 'post-install-cmd' item in 'scripts')
 !     in your 'composer.json'.
 !
 !     Typical error cases are out-of-date or missing parts of code,
 !     timeouts when making external connections, or memory limits.
 !
 !     Check the above error output closely to determine the cause of
 !     the problem, ensure the code you're pushing is functioning
 !     properly, and that all local changes are committed correctly.
 !
 !     For more information on builds for PHP on Heroku, refer to
 !     https://devcenter.heroku.com/articles/php-support
 !
 !     REMINDER: the following warnings were emitted during the build;
 !     check the details above, as they may be related to this error:
 !     - There was a class not found error in your code
 !     Push rejected, failed to compile PHP app.
 !     Push failed
herokuのdeployではcomposer require-devのほうは、インストールしてくれないそうなので、symfony/profiler-packがないよーって言っています。
横着ですが、
require-devのパッケージを、requireの方にも入れます。
       !!  Symfony\Component\ErrorHandler\Error\ClassNotFoundError {#29
       !!    #message: """
       !!      Attempted to load class "WebProfilerBundle" from namespace "Symfony\Bundle\WebProfilerBundle".\n
       !!      Did you forget a "use" statement for another namespace?
       !!      """
こっちも、composer.jsonのscript部分の消しちゃって逃げます💦
-    "scripts": {
-        "auto-scripts": {
-            "cache:clear": "symfony-cmd",
-            "assets:install %PUBLIC_DIR%": "symfony-cmd"
-        },
-        "post-install-cmd": [
-            "@auto-scripts"
-        ],
-        "post-update-cmd": [
-            "@auto-scripts"
-        ]
-    },
で、どうにかHerokuにデプロイできるようになりました😎
3.env=prodにする
heroku config:set APP_ENV=prod --app [herokuのapp名]
4.Apacheの設定 ←ここ大事💡
以下コマンドでProcfileを作成します。
$ echo 'web: heroku-php-apache2 public/' > Procfile
さらに、composer require apache-packを実行し、質問にはyesで答えます。
そうすると、.htaccessが追加されます。
git pushしてherokuにdelpoyされたら、ブラウザで確認してみます。
env=prodでは、welcomeページはないので404になります。

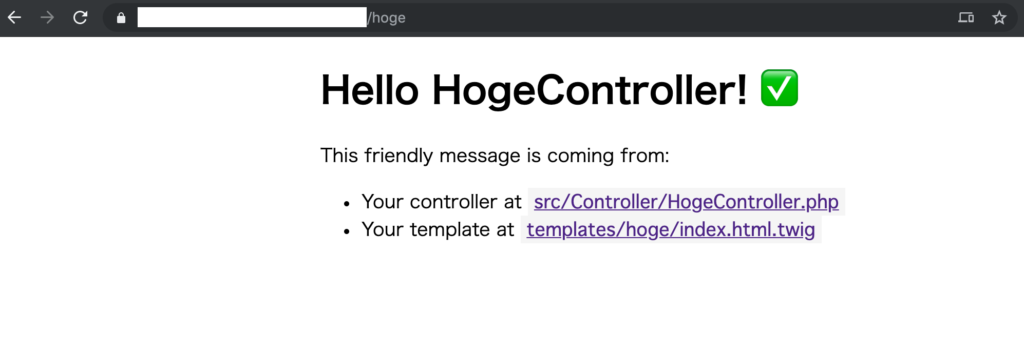
5.コントローラー作成
下記コマンドで、コントローラを作成することができます。
$ php bin/console make:controller HogeController

 created: src/Controller/HogeController.php
 created: templates/hoge/index.html.twig


  Success!


 Next: Open your new controller class and add some pages!
deploy後にheroku bashで、routerを一応確認してみます。良さそう😏
~ $  bin/console debug:router
 ------ -------- -------- ------ -------
  Name   Method   Scheme   Host   Path
 ------ -------- -------- ------ -------
  hoge   ANY      ANY      ANY    /hoge
 ------ -------- -------- ------ -------
6.ブラウザチェック
作成した/hogeにアクセスしてみると、、、見れたー!!!!!🎉
つまづきポイント
deployできたはずなのに、herokuでsymfonyコマンド使ってみると、 最初のエラーが再び….
Attempted to load class “WebProfilerBundle” from namespace “Symfony\Bundle\WebProfilerBundle”.\n
Did you forget a “use” statement for another namespace?
→heroku run bashして、サーバに入ってrm -rf vendor/からのcomposer installでどうにかsymfonyコマンドは動作するようになりました。
参考
https://devcenter.heroku.com/articles/deploying-symfony4
https://github.com/heroku/heroku-buildpack-php/issues/278#